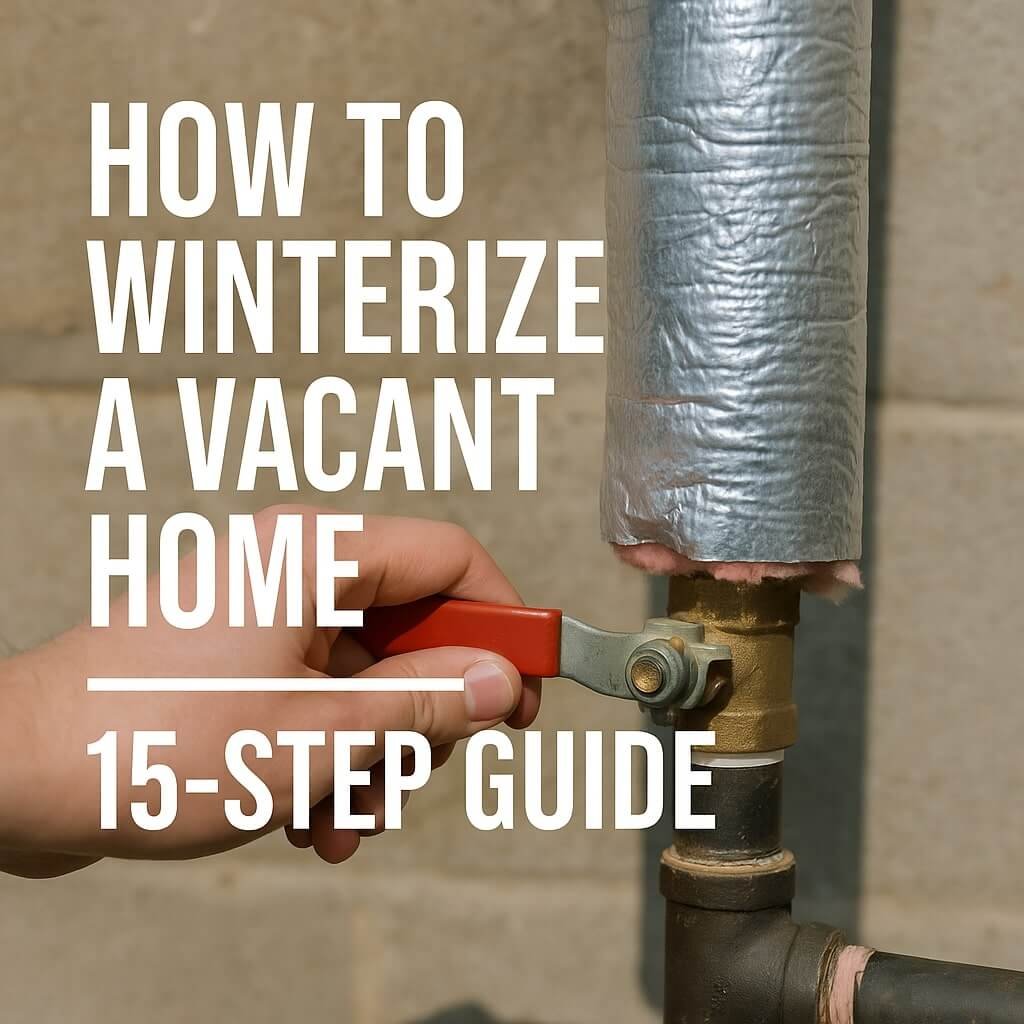
Vacant homes face a barrage of threats during winter—burst pipes, mould, pests, and even break-ins. Whether you’re a seasonal traveller, managing a rental property, or inheriting a house you don’t immediately occupy, learning how to winterise a vacant home is crucial.
This guide outlines a simple, actionable, and optimised approach to keeping your home safe during the frosty months.
Why Winterising a Vacant Home Matters
Vacant homes are particularly vulnerable to freezing temperatures, moisture buildup, and vandalism. Without regular checks, small issues can escalate into costly repairs. Here’s why proper winterisation isn’t just smart, it’s essential:
- Avoids burst pipes and water damage
- Prevents mould and mildew
- Keeps pests out
- Reduces energy bills
- Preserves home value
According to FEMA, water damage is one of the most common and costly home insurance claims. Winterising reduces that risk drastically.
Step-by-Step Winterisation Checklist
1. Turn Off the Main Water Supply
Locate your home’s main water shut-off valve and turn it off completely. This prevents any water from sitting in pipes, where it could freeze and burst.
- Turn the valve clockwise
- Open all faucets to relieve pressure
- Label it clearly for future reference
2. Drain Water from the Plumbing
Once the water is off, drain every pipe, toilet, and water heater.
- Flush toilets until empty
- Open all faucets (hot and cold)
- Use an air compressor for extra water removal
3. Add Antifreeze to Drains and Toilets
Use non-toxic RV antifreeze to protect plumbing fixtures.
- Pour 1–2 cups into the sink and shower drains
- Add enough to the toilet bowls and tanks
- Always label treated areas
4. Insulate Pipes and Vulnerable Areas
Use foam insulation sleeves or heat tape on exposed pipes—especially in unheated areas like basements and garages.
- Focus on pipe bends and joints
- Don’t forget crawlspaces
- Cover outdoor spigots
5. Adjust the Thermostat
Set the thermostat to around 55°F (13°C) to maintain a base temperature and prevent freezing.
- Use a programmable thermostat if possible
- Keep the fan on “Auto”
- Avoid shutting off the heat completely
6. Unplug Unnecessary Appliances
Unplug all electronics, appliances, and chargers to prevent fire risk and energy drain.
- Fridges and freezers should be cleaned and left open
- Disconnect washer/dryer units
- Turn off power strips
7. Seal Windows, Doors, and Openings
Use weather stripping, caulk, or insulation film to keep out cold air.
- Inspect each window for gaps
- Seal mail slots and vents
- Install draft guards under doors
8. Clean Gutters and Downspouts
Clogged gutters can lead to ice dams and roof leaks.
- Remove all leaves and debris
- Ensure downspouts drain away from the foundation
- Consider gutter guards for long-term protection
9. Trim Trees and Shrubs Around the House
Falling limbs from snow-laden trees can damage your roof or siding.
- Trim branches away from the house
- Remove dead or weak trees
- Clear the area near power lines
10. Secure the Home from Intruders
Vacant homes can attract burglars and squatters.
- Lock all windows and doors
- Install motion-activated lights
- Use security cameras or alarm systems
11. Check Smoke and CO Detectors
Ensure safety systems are functional even when no one is home.
- Replace batteries
- Test each unit manually
- Install smart detectors for remote monitoring
12. Inspect the Roof and Attic
Look for signs of leaks, missing shingles, or insulation issues.
- Seal roof vents
- Add extra insulation if needed
- Remove debris
13. Pest-Proof the Property
Rodents and insects look for warm, empty places in winter.
- Seal holes and gaps around foundations
- Use traps and deterrents
- Remove food sources and nesting materials
14. Prepare the HVAC System
A well-maintained system keeps your home’s interior protected.
- Replace air filters
- Schedule a professional inspection
- Cover outdoor units
15. Hire a Property Watch Service
Consider a weekly check-in service or enlist a trusted neighbour.
- They can report any changes or damages
- Ensure mail and packages aren’t piling up
- Keep the home looking “lived in”
FAQs About Winterising a Vacant Home
1. How cold does it have to be for pipes to freeze?
Pipes can begin to freeze at 32°F (0°C), but are more likely to burst when temperatures drop below 20°F (-6°C) for several hours.
2. Can I winterise a home myself, or do I need a professional?
Most steps can be done DIY with the right tools and guidance. However, for complex HVAC or plumbing systems, a pro might be worth the cost.
3. What’s the best antifreeze for home plumbing?
Use non-toxic RV or marine antifreeze. Never use automotive antifreeze—it’s dangerous and not designed for indoor use.
4. How often should a vacant home be checked in winter?
Every 1–2 weeks is ideal. Install smart home systems to get real-time alerts.
5. Should I leave the heat on in a vacant home?
Yes, but keep it low—around 55°F—to prevent freezing. Turning it off entirely risks frozen pipes.
6. What if I forget a step in winterising?
Missing even one step, like not draining water lines, can lead to expensive repairs. Always use a checklist and do a final walkthrough.
Conclusion: Peace of Mind Through Preparation
Knowing how to winterise a vacant home is about more than saving money—it’s about peace of mind. With a bit of upfront effort, you can avoid water damage, pest infestations, and security issues. Whether you’re away for weeks or the whole season, following these 15 steps will protect your investment and make your return worry-free.


