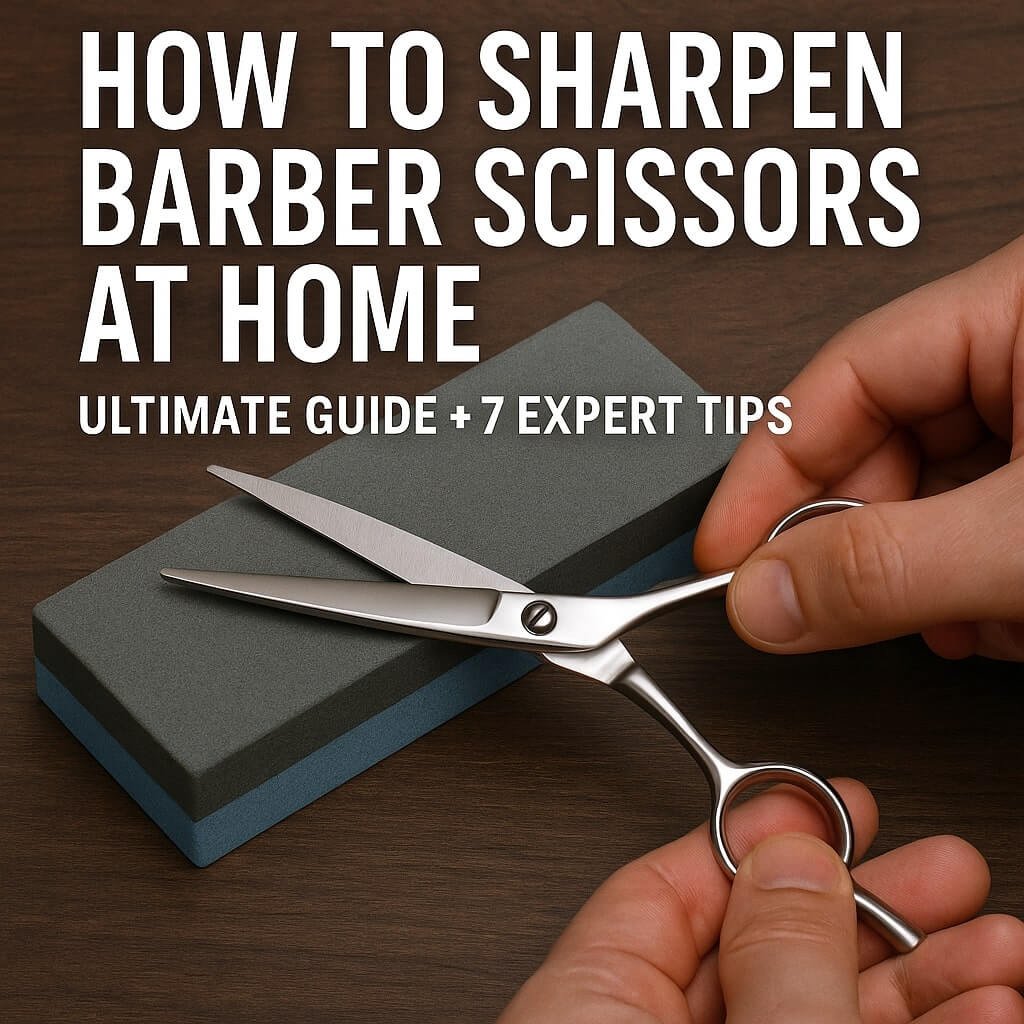
Barbers rely on precision tools to deliver crisp, clean cuts every time. One of the most important tools in their arsenal? Barber scissors. Whether you’re a professional or a grooming enthusiast, keeping your scissors sharp is non-negotiable. Luckily, learning how to sharpen barber scissors at home isn’t as intimidating as it sounds.
This in-depth guide will walk you through everything, from understanding the parts of your scissors to multiple sharpening techniques you can use right from the comfort of your home. Let’s dive in and bring those dull blades back to life.
Why Sharp Scissors Matter for Barbers
Dull scissors not only make your work harder, but they also damage hair shafts and create uneven cuts. Here’s why sharp scissors are crucial:
- Precision: Sharp blades ensure clean, professional-grade cuts.
- Speed: A sharp pair of scissors cuts faster, improving workflow.
- Client Comfort: Dull scissors can pull or snag hair, making the experience uncomfortable.
- Tool Longevity: Regular maintenance extends the life of your scissors.
Investing time in sharpening helps protect your reputation and your tools.
Understanding the Anatomy of Barber Scissors
Before we get into sharpening, it’s important to understand what you’re working with.
Blade Types
Barber scissors typically come in convex or bevelled edge types:
- Convex edge: Ultra-sharp and smooth, perfect for precision cutting.
- Bevelled edge: More durable and easier to sharpen at home.
Screw Joint and Tension
The central screw controls the tension. If it’s too tight or too loose, your sharpening efforts could be wasted. Always adjust it properly before and after sharpening.
Signs Your Scissors Need Sharpening
Not sure if your scissors need sharpening? Here are some telltale signs:
- Tugging or pulling on hair
- Uneven or jagged cuts
- Audible crunching sound
- Blades feel rough or dull when opened/closed
- Increased hand fatigue
If you notice any of these symptoms, it’s time to bring out the sharpening tools.
Common Mistakes When Sharpening Scissors
Before we proceed, avoid these common pitfalls:
- Using the wrong angle when sharpening
- Over-sharpening (can reduce blade life)
- Skipping blade cleaning
- Not checking blade alignment post-sharpening
- Using household knife sharpeners (they damage scissor blades)
Sharpening barber scissors requires precision, not just effort.
Tools You’ll Need to Sharpen Barber Scissors at Home
Here’s a quick rundown of the tools you’ll need:
Whetstone
- Best for thorough sharpening
- Choose 1000/3000 grit for best results
Honing Rod
- Useful for regular blade maintenance
- Not ideal for very dull scissors
Aluminum Foil
- Quick DIY trick
- Great for light touch-ups
Sandpaper
- Versatile and inexpensive
- Ideal grit range: 400–600 for sharpening, 1200 for polishing
Preparing Your Scissors for Sharpening
Before sharpening, prep is key.
Cleaning the Blades
Use rubbing alcohol or warm, soapy water to remove hair, oil, and debris.
Checking Tension and Alignment
Open and close the scissors a few times. If it feels uneven or stiff, adjust the central screw using a tension adjuster or screwdriver.
Step-by-Step Guide: How to Sharpen Barber Scissors at Home
Method 1: Using a Whetstone
- Soak the whetstone for 10–15 minutes.
- Hold the scissors at a 45-degree angle against the stone.
- Move the blade across the stone in a sweeping motion 10–15 times.
- Repeat on the other blade.
- Rinse, dry, and test sharpness.
Method 2: Aluminium Foil Hack
- Fold aluminium foil into 6-8 layers.
- Cut through it several times (about 10–20 snips).
- Clean the blades afterwards.
Method 3: Sandpaper Technique
- Use 400–600 grit sandpaper.
- Cut through the sandpaper with long snips.
- Wipe off dust and apply blade oil.
Each of these methods serves different levels of dullness. For serious sharpening, the whetstone is most effective.
Post-Sharpening Care and Maintenance
Maintaining your scissors after sharpening is just as vital.
Oiling the Scissors
Apply a drop of clipper/scissor oil at the pivot point. Open and close the blades to spread it evenly.
Proper Storage Tips
- Use a protective case or holster
- Store in a dry place
- Avoid storing with other metal tools to prevent nicks
How Often Should You Sharpen Your Barber Scissors?
Generally, sharpen every 6–8 weeks, depending on use. High-frequency barbers may need to do it more often.
Alternative Options: When to Seek Professional Help
If your scissors:
- Have visible nicks
- Won’t align even after adjustments
- They are made of high-carbon or specialty steel
Safety Tips While Sharpening
- Always keep your fingers away from the cutting edge
- Work in a well-lit area
- Wear gloves if you’re new to sharpening
- Keep tools out of reach of children
Safety first—always.
FAQs
1. Can I sharpen barber scissors with a kitchen knife sharpener?
No, kitchen knife sharpeners can damage the blade edge and alignment of barber scissors.
2. How do I know if I’m using the correct angle on a whetstone?
Most barber scissors require a 45° angle. Check your manufacturer’s guide if unsure.
3. Is aluminium foil effective for sharpening?
Yes, for light touch-ups. It won’t restore a very dull blade, but it works in a pinch.
4. Can I over-sharpen my scissors?
Yes. Over-sharpening reduces blade life and can cause damage. Sharpen only when necessary.
5. How long does it take to sharpen scissors at home?
About 10–20 minutes, depending on the method and the dullness of the blade.
6. What’s the best grit for sharpening scissors?
Start with 400–600 grit for sharpening. Use 1000+ grit for finishing and polishing.
Conclusion
Sharpening your barber scissors at home is not only cost-effective but also empowering. With just a few tools and a bit of patience, you can keep your scissors in prime cutting condition and extend their lifespan significantly. Stick to these tips, avoid common mistakes, and you’ll never deal with a dull blade again.


